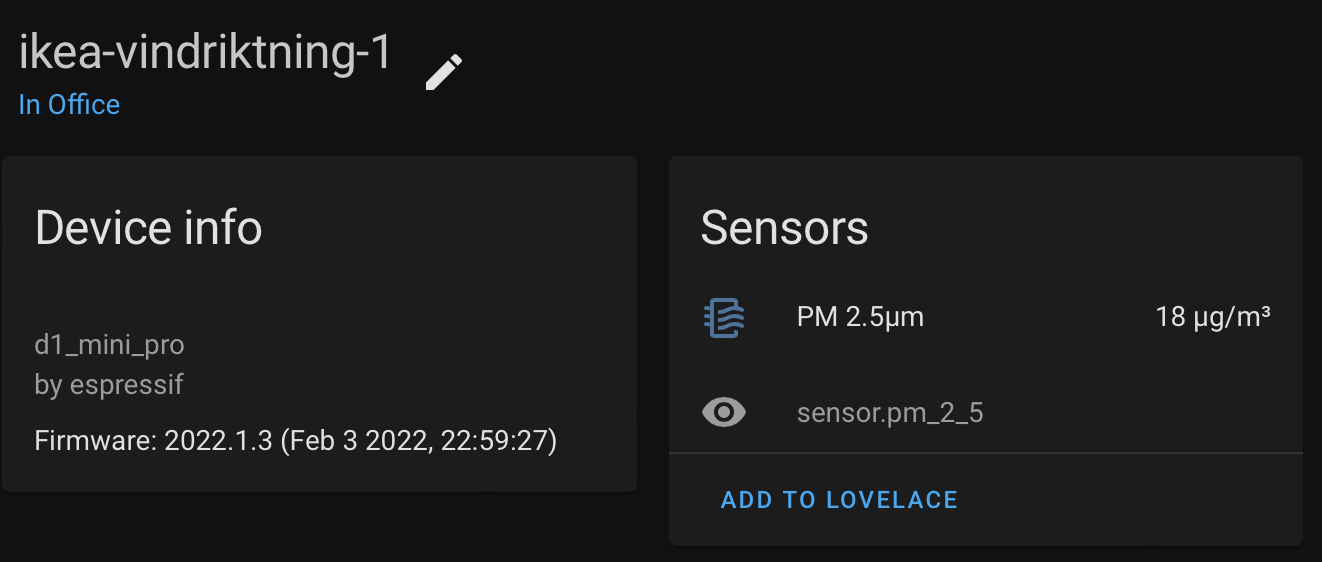
The IKEA VINDRIKTNING is a simple and cheap ($15 AUD) air quality sensor that measures PM 2.5 particulate matter. It’s easy to attach an ESP8266 to three test points on the device’s PCB to read the communication between the sensor and the onboard IC.
I have published a small project based on the excellent work of Soren Beye in the Hypfer/esp8266-vindriktning-particle-sensor project that wraps the functionality into a custom ESPHome external component that can be pulled into any ESPHome configuration. The full source is available on GitHub.
Why ESPHome?
Most of the boilerplate code and configuration in the original project can be abstracted away by ESPHome. Things like wifi configuration, OTA updates, Home Assistant auto discovery and integration, and UART setup can all be configured with a simple YAML file rather than writing and maintaining C++ firmware.
The original project contains a moving average value for the sensor. This can be replicated with a sliding_window_moving_average filter on the sensor, keeping the configuration declarative.
Prerequisites
To attach your ESP8266 to the VINDRIKTNING sensor, follow the excellent build instructions contained within the original Hypfer README. It covers the wiring of the three connections: ground, 5V, and the single data pin.
Example Configuration
A complete ESPHome YAML configuration for the sensor looks like this:
esphome:
    name: vindriktning-pm-1
    platform: ESP8266
    board: d1

external_components:
- source: github://jessedc/esphome-vindriktning-particle-sensor@main
  components: [ vindriktning ]
  refresh: 0s

logger:

api:

ota:
    password: !secret ota_password

wifi:
    ssid: !secret wifi_ssid
    password: !secret wifi_password

uart:
    id: uart_bus
    rx_pin: GPIO4
    tx_pin: GPIO5 # Unused
    baud_rate: 9600

sensor:
- platform: vindriktning
  id: uart_vindrikning_pm25
  name: PM 2.5μm
  filters:
    - sliding_window_moving_average:
        window_size: 5
        send_every: 5
Example Log Output
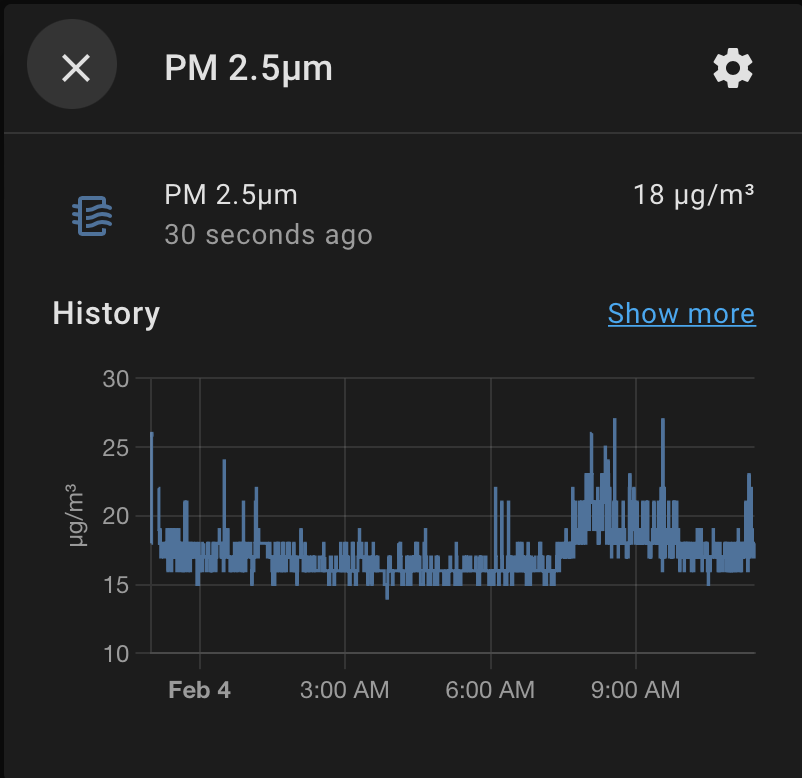
Once running, the ESPHome log shows the raw PM 2.5 readings from the sensor and the averaged values being sent to Home Assistant:
[22:07:10][D][vindriktning:031]: Received PM 2.5 reading: 15
[22:07:12][D][vindriktning:031]: Received PM 2.5 reading: 15
[22:07:33][D][vindriktning:031]: Received PM 2.5 reading: 15
[22:07:34][D][vindriktning:031]: Received PM 2.5 reading: 15
[22:07:36][D][vindriktning:031]: Received PM 2.5 reading: 15
[22:07:36][D][sensor:125]: 'PM 2.5μm': Sending state 15.00000 µg/m³ with 0 decimals of accuracy
[22:07:38][D][vindriktning:031]: Received PM 2.5 reading: 15
[22:07:41][D][vindriktning:031]: Received PM 2.5 reading: 15
[22:07:43][D][vindriktning:031]: Received PM 2.5 reading: 15
[22:07:45][D][vindriktning:031]: Received PM 2.5 reading: 15
[22:08:06][D][vindriktning:031]: Received PM 2.5 reading: 17
[22:08:06][D][sensor:125]: 'PM 2.5μm': Sending state 15.40000 µg/m³ with 0 decimals of accuracy
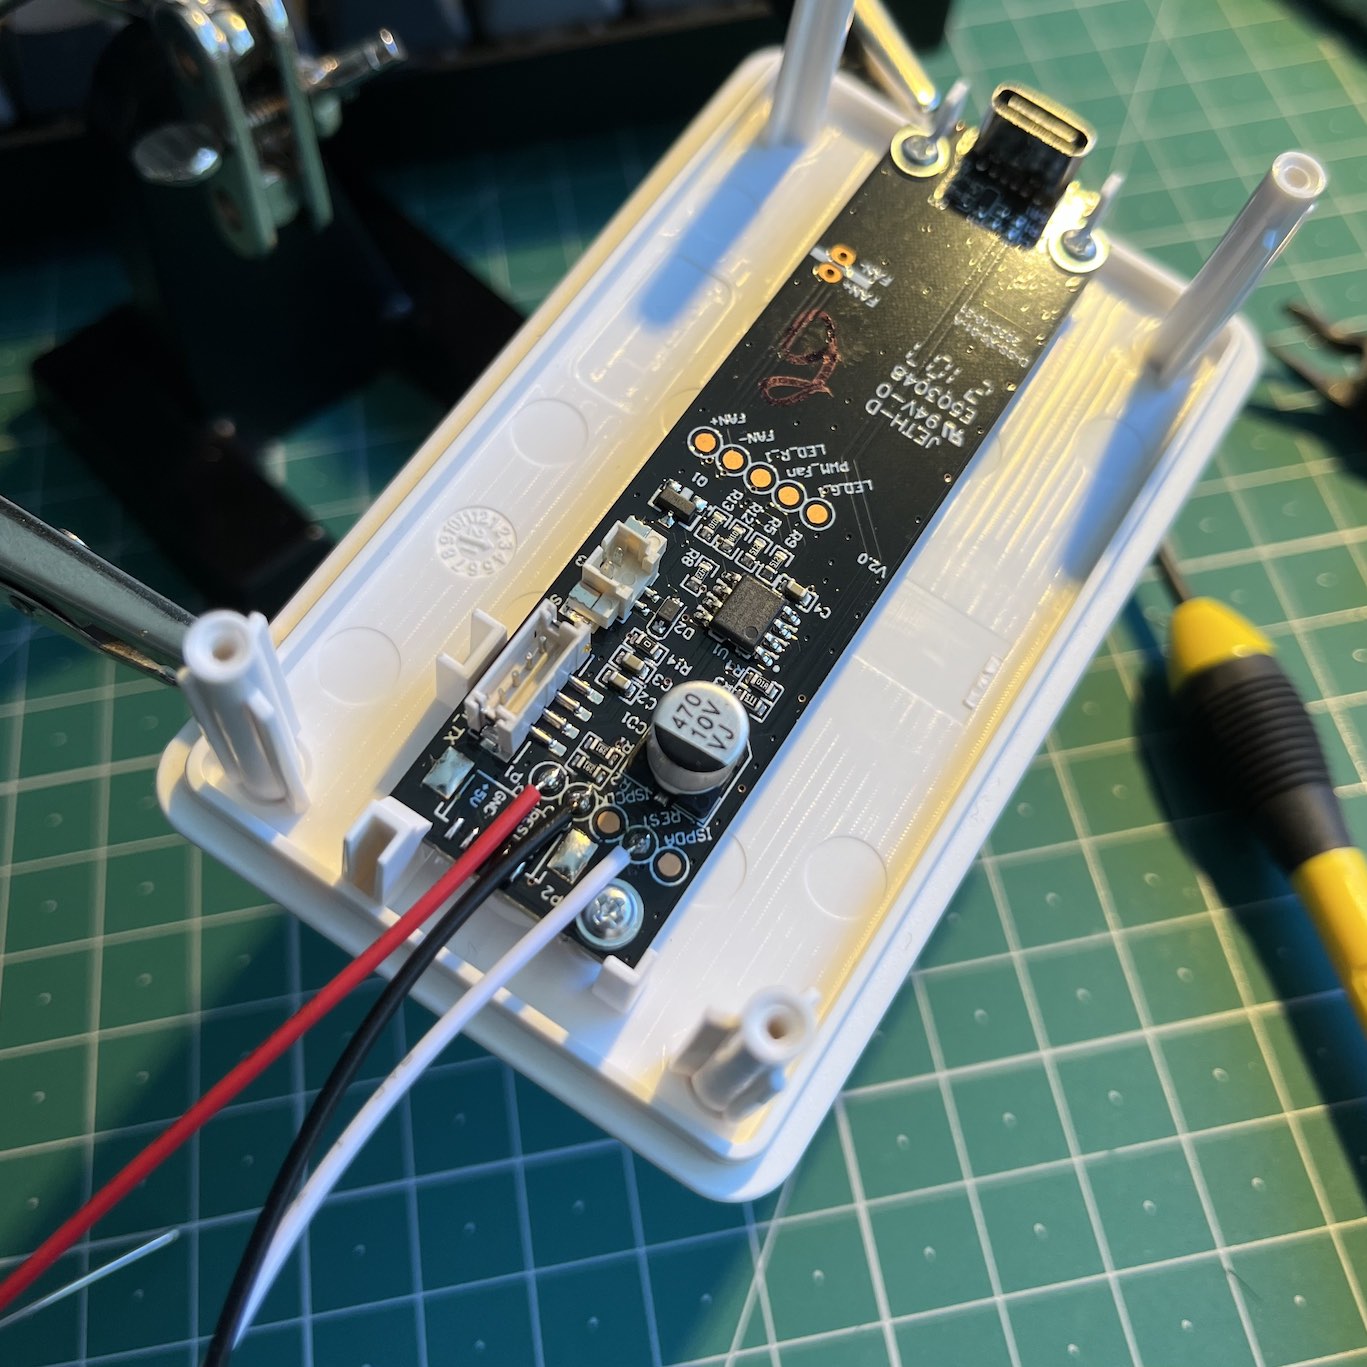
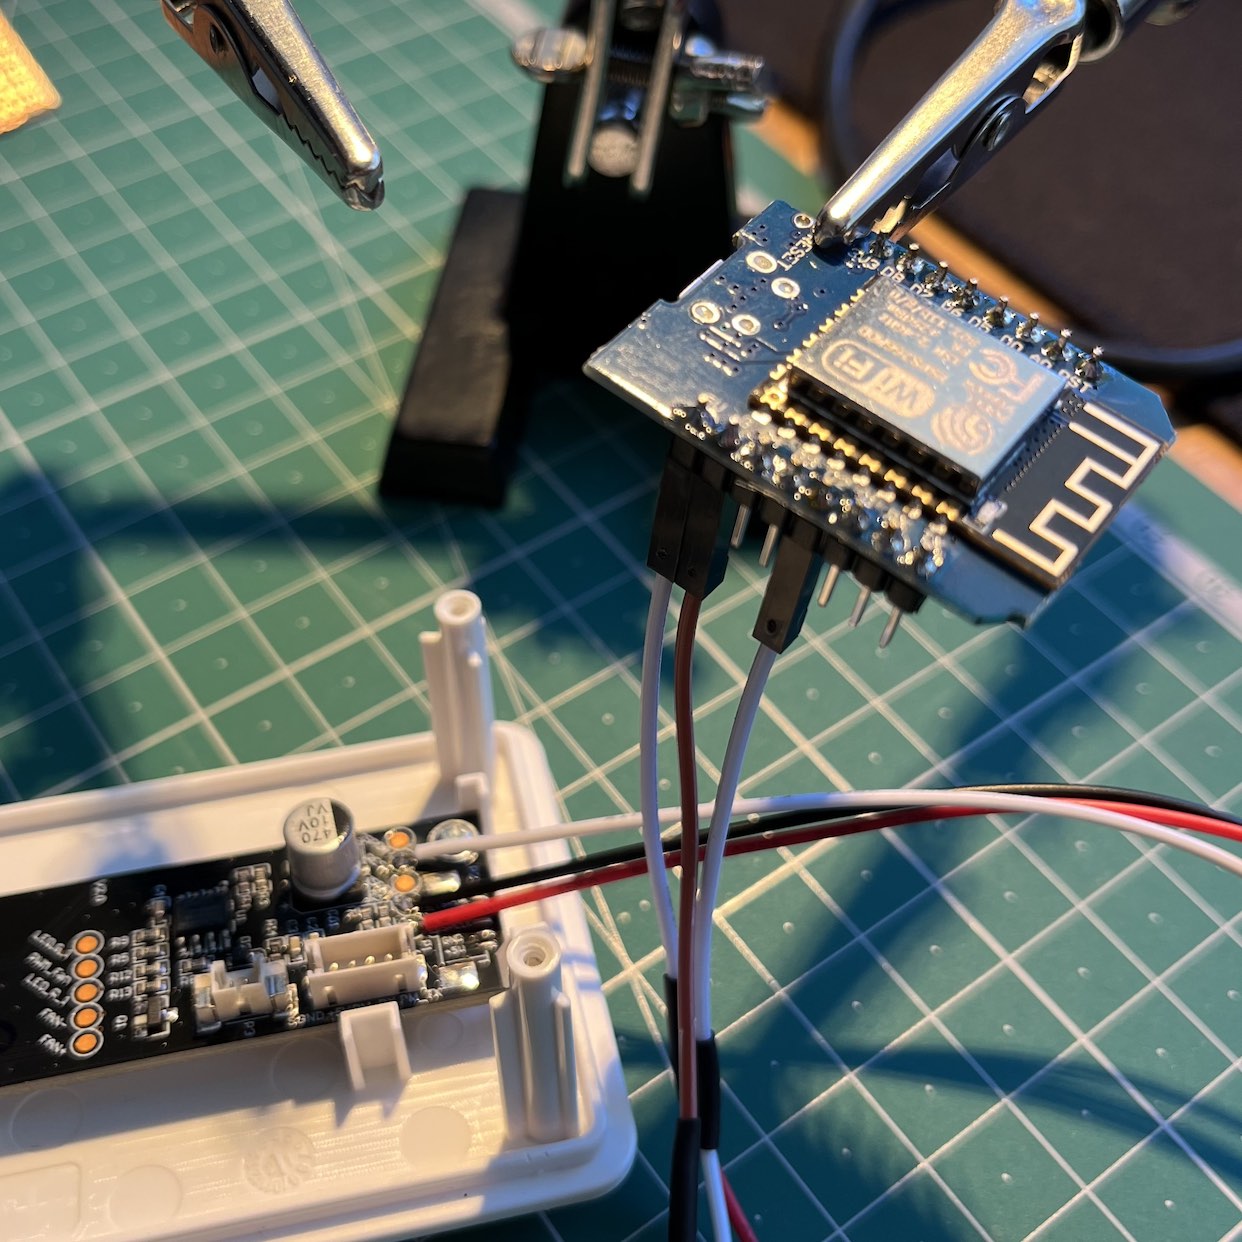
Build Photos
I followed the build instructions to build my own ESP8266 powered VINDRIKTNING sensor, wiring up ground, 5V and the single data pin then stuffing it all back into the enclosure.
Footnote
This post was created in February 2026 from the project’s README. The project was originally built and published in early 2022.